DIY Guide: Installing Your Refrigerator Water Filter
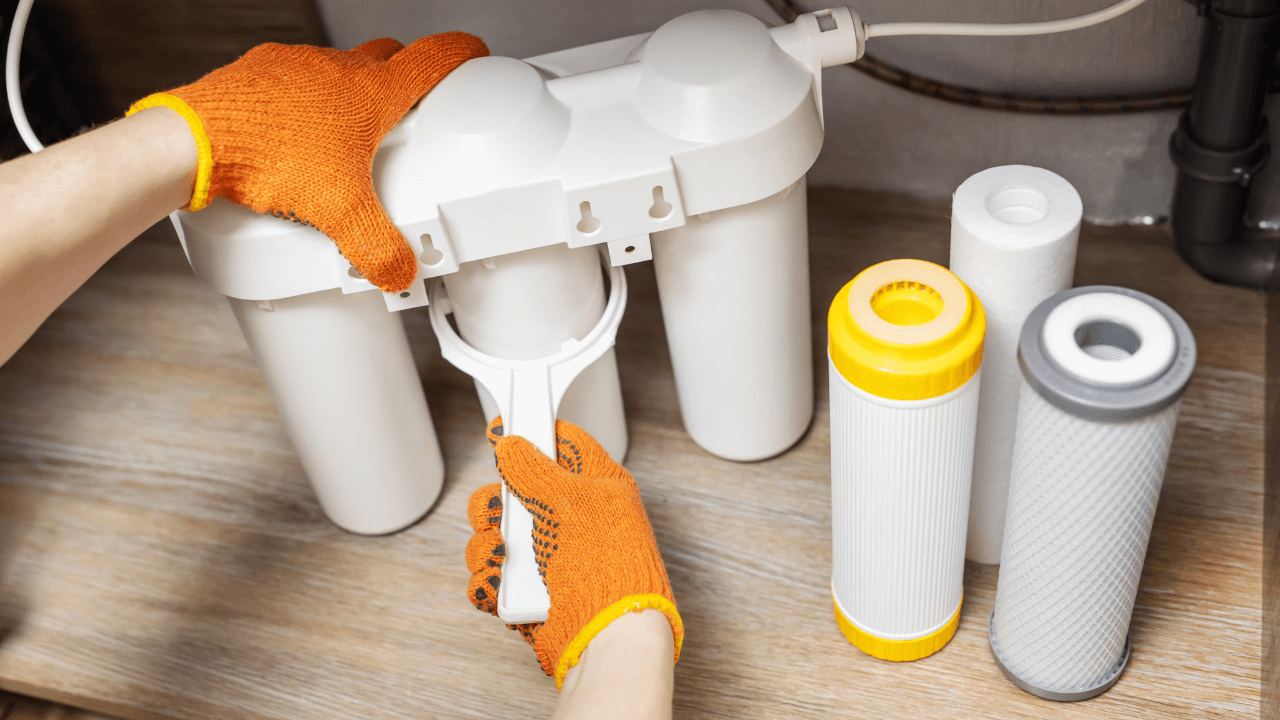
Refrigerator water filters are essential for ensuring the purity and taste of the water you and your family consume daily. However, many people find the idea of installing or replacing these filters daunting. Fortunately, with a little guidance and the right tools, you can easily handle this task on your own. This comprehensive DIY guide will walk you through the steps of installing your refrigerator water filter, ensuring you enjoy clean, safe water. Let’s dive in!
Understanding the Importance of Refrigerator Water Filters
Why You Need a Water Filter
Refrigerator water filters remove contaminants such as chlorine, lead, pesticides, pharmaceuticals, and microorganisms from your drinking water. These filters enhance the taste and odor of the water and ice dispensed from your fridge, providing a safer and more enjoyable drinking experience.
How Often Should You Replace Your Filter?
Most manufacturers recommend replacing your refrigerator water filter every six months. However, this can vary depending on your water quality and usage. Some refrigerators have indicator lights to notify you when it’s time to change the filter.
Tools and Materials Needed
Before you start, gather the following tools and materials:
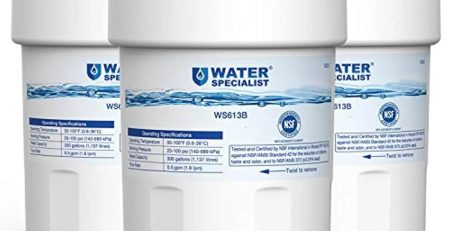
- New refrigerator water filter compatible with your model
- Owner’s manual for your refrigerator
- A small towel or cloth (to catch any drips)
- Pen and paper (to note the date of installation)
Step-by-Step Guide to Installing Your Refrigerator Water Filter
-
Identify Your Filter Type and Location
Refrigerator water filters are typically located in one of three places:
- Inside the refrigerator compartment
- In the grille at the bottom of the refrigerator
- On the back of the refrigerator
Refer to your refrigerator’s owner’s manual to determine the location and type of filter you need.
-
Turn Off the Water Supply
To avoid any leaks or spills, locate and turn off the water supply to your refrigerator. This step is crucial to prevent water from gushing out when you remove the old filter.
-
Remove the Old Filter
Filters Inside the Refrigerator Compartment
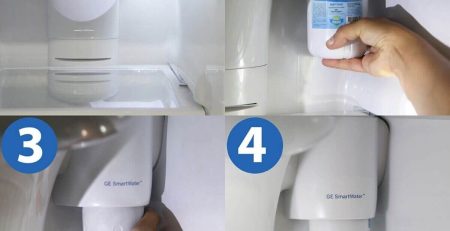
- Open the refrigerator door.
- Locate the filter cover and open it (if applicable).
- Twist the old filter counterclockwise (left) and pull it out.
Filters in the Grille
- Locate the filter in the bottom grille of the refrigerator.
- Push the button to release the filter or twist it counterclockwise and pull it out.
Filters on the Back
- Move the refrigerator away from the wall.
- Locate the filter housing on the back.
- Twist the old filter counterclockwise and pull it out.
-
Prepare the New Filter
Remove the new filter from its packaging and remove any protective caps or seals. Some filters require you to run water through them before installation to remove any loose carbon particles. Follow the manufacturer’s instructions for preparing the filter.
-
Install the New Filter
Filters Inside the Refrigerator Compartment
- Insert the new filter into the filter housing.
- Twist it clockwise (right) until it locks into place.
- Close the filter cover (if applicable).
Filters in the Grille
- Align the new filter with the housing.
- Push it in until it clicks into place or twist it clockwise.
Filters on the Back
- Insert the new filter into the housing.
- Twist it clockwise until it is securely in place.
-
Turn On the Water Supply
After installing the new filter, turn the water supply back on. Check for any leaks around the filter housing. If you notice any, make sure the filter is properly seated and tightened.
-
Flush the New Filter
It’s important to flush the new filter to remove any trapped air and loose carbon particles. To do this:
- Place a large container under the water dispenser.
- Dispense and discard several gallons of water (usually about 3-5 gallons) until the water runs clear.
-
Reset the Filter Indicator Light
If your refrigerator has a filter indicator light, reset it according to the manufacturer’s instructions. This typically involves pressing and holding a specific button for a few seconds.
-
Note the Installation Date
Write down the date of installation on a piece of paper or a sticker and attach it to the inside of your refrigerator or in a place where you’ll remember. This will help you keep track of when it’s time to replace the filter again.
Troubleshooting Common Issues
Water Flow Problems
If you notice a decrease in water flow after installing the new filter, check to ensure the filter is properly installed and that the water supply is fully turned on. Also, make sure the filter is the correct model for your refrigerator.
Leaks
Leaks around the filter housing can occur if the filter is not properly seated. Double-check that the filter is securely in place and that any protective seals were removed before installation.
Cloudy Water
Cloudy water after installing a new filter is usually due to air in the lines or loose carbon particles. Flushing several gallons of water through the dispenser should clear this up.
Tips for Maintaining Your Refrigerator Water Filter
Regular Replacement
Adhere to the manufacturer’s recommended replacement schedule, typically every six months. High water usage or poor water quality may necessitate more frequent replacements.
Monitor Water Quality
Stay vigilant about changes in water quality, such as taste, smell, and appearance. These can be early signs that your filter needs replacement, even if it hasn’t reached the end of its expected lifespan.
Keep Spare Filters
Having a spare filter on hand ensures that you can promptly replace a failing filter without delays, maintaining continuous access to clean water.
Educate Your Family
Ensure that all members of your household know how to replace the filter and recognize the signs of a failing filter. This can help maintain the quality of your drinking water even when you’re not around.
The Benefits of DIY Installation
Cost Savings
Hiring a professional to replace your refrigerator water filter can be expensive. By doing it yourself, you save on labor costs and only need to purchase the filter itself.
Convenience
Knowing how to install your refrigerator water filter allows you to replace it at your convenience without waiting for a service appointment.
Empowerment
Learning to maintain your appliances empowers you to take better care of your home and ensures that your family always has access to clean, safe drinking water.
Advanced Tips for DIY Enthusiasts
Installing an Inline Water Filter
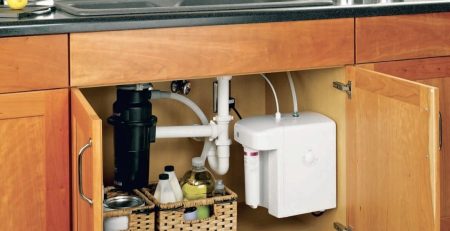
For those looking to go a step further, installing an inline water filter can provide an additional layer of filtration. Inline filters are installed on the water supply line leading to your refrigerator and can extend the lifespan of your refrigerator’s built-in filter.
Steps to Install an Inline Filter
- Turn Off the Water Supply: As with the refrigerator filter, start by turning off the water supply.
- Cut the Water Line: Use a pipe cutter to cut the water supply line where you’ll install the filter.
- Install the Filter: Follow the manufacturer’s instructions to attach the inline filter to the cut water line. This typically involves using compression fittings or quick-connect fittings.
- Turn On the Water Supply: Turn the water supply back on and check for leaks.
- Flush the Filter: Run water through the dispenser to flush the new filter and remove any trapped air.
Using a Water Quality Test Kit
A water quality test kit can help you monitor the effectiveness of your water filter. These kits test for various contaminants and can provide peace of mind that your filter is working as intended.
How to Use a Water Quality Test Kit
- Collect a Sample: Follow the instructions provided with the kit to collect a water sample.
- Test for Contaminants: Use the provided test strips or digital meter to test for contaminants such as chlorine, lead, and bacteria.
- Compare Results: Compare the test results to the acceptable levels provided in the kit’s instructions.
Maintaining the Ice Maker
If your refrigerator has an ice maker, it’s essential to maintain it along with the water filter. Regularly clean the ice maker and ensure that the water filter is replaced on schedule to prevent contamination and ensure the quality of your ice.
Cleaning the Ice Maker
- Turn Off the Ice Maker: Turn off the ice maker and unplug the refrigerator.
- Remove the Ice Bin: Take out the ice bin and wash it with warm, soapy water.
- Clean the Ice Maker: Wipe down the ice maker components with a solution of vinegar and water.
- Rinse and Reassemble: Rinse all parts with clean water, dry them, and reassemble the ice maker.
- Restart the Ice Maker: Plug the refrigerator back in and turn on the ice maker.
Conclusion
Installing your refrigerator water filter is a straightforward DIY task that offers numerous benefits. By following this comprehensive guide, you can ensure that your family enjoys clean, safe drinking water. Regular maintenance, timely filter replacements, and attention to detail will keep your refrigerator water filtration system functioning optimally. Brands like Filter For Fridge provide high-quality filters that are easy to install, making the process even more convenient. Empower yourself with the knowledge and confidence to maintain your refrigerator water filter and enjoy the peace of mind that comes with knowing your water is pure and healthy.


