How to Change a Whirlpool Refrigerator Water Filter in 10 Simple Steps
The water dispenser slows to a trickle, the ice tastes a little off, and a red light on the door keeps blinking “Replace Filter.” You know it needs a new cartridge. What you may not know is where the filter hides, which part number fits, or whether you need to shut off the water first. That uncertainty is why a five-minute job sits on the to-do list for weeks.
Good news: learning how to change a Whirlpool refrigerator water filter takes less effort than most people expect. Whirlpool uses three common filter placements and a small handful of cartridge styles. Once you identify yours, the swap is repeatable every six months. No tools, no plumber, no draining the fridge.
In this guide, you will find the full replacement process, step by step. You will learn how to identify the correct part number, where the filter housing sits on grille-base and interior models, how to remove a stuck cartridge, how to install and lock the new one, how much water to flush, and how to reset the indicator light.
You will also learn what NSF 42 and NSF 53 certifications actually cover so you can choose a replacement with confidence. The goal is simple. Spend a few minutes on this now, then get back to everything else on your list.
Identify the Correct Filter and Its Location
Before you buy anything, you need two pieces of information: the filter part number and where the housing sits inside your Whirlpool refrigerator. Get those right, and the rest of the job is quick.
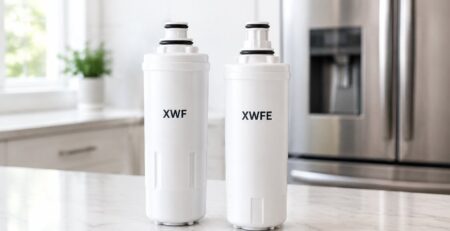
Whirlpool has used several cartridge families over the years, and they are not interchangeable. A push-in grille filter will not thread into an interior twist-in housing, no matter how hard you push. Matching the part number first prevents a return trip and a wasted week without filtered water.
Check the Existing Filter Part Number
The fastest method is to pull the old cartridge and read the label printed on the body. Whirlpool prints the part number directly on the plastic, usually near the cap.
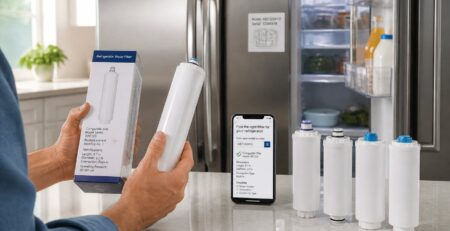
Common numbers you will see include W10295370A (sold at retail as EveryDrop EDR1RXD1, often labeled “Filter 1”), W10413645A (EDR2RXD1, “Filter 2”), and 4396508 or 4396510 for older side-by-side models. Interior twist-in units from the 2000s often read UKF8001, which is shared with Maytag refrigerators.
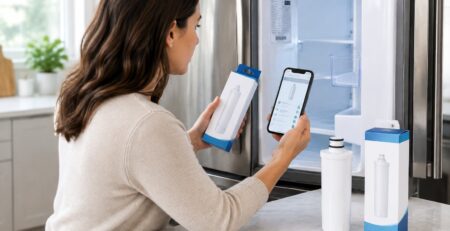
If the old filter is missing, use your refrigerator’s model number instead. That tag usually sits inside the fresh food compartment on the left wall, on the ceiling, or behind the crisper drawer. A refrigerator filter cross-reference tool will convert that model number into the correct cartridge in seconds.
Find the Filter Housing in Common Whirlpool Locations
Whirlpool uses three placements, and yours will be one of them:
- Base grille: behind the trim panel at the very bottom of the fridge, below the doors. Consumer Reports notes this spot is a favorite hiding place for Whirlpool side-by-side filters.
- Interior upper right: inside the fresh food compartment, near the ceiling on the right side, behind a small flip-down or pop-out door.
- Interior upper left: same idea, mirrored to the left corner, common on French door models.
If none of those match, search your model number plus “owner’s manual” and look for the word “filter” in the PDF.
Confirm Compatibility Before Opening the New Cartridge
Keep the replacement sealed in its bag until you have compared it side by side with the old one. Check cap shape, thread direction, and overall length.
A genuine EDR1RXD1-style cartridge is a slim push-in with a rounded cap. A UKF8001 style is shorter and twists a quarter turn. If the two do not match, the package stays sealed and returnable.
Once you are holding the right cartridge, a little prep keeps the swap clean.
Prepare for a Clean, Simple Replacement
Two minutes of prep keeps water off your floor. You need a towel, the new filter, and a cup or small bowl. That is the entire list.
Filters hold roughly a cup of water inside when you remove them, and some of that spills as the cartridge clears the housing. Grille-base filters tend to drip the most because gravity works against you.
Gather a Towel and Inspect the New Filter
Lay a folded towel under the housing before you touch anything. Keep a second dry towel nearby for the seal area.
Open the new cartridge and look it over. The plastic should be free of cracks, the cap should be firmly attached, and the printed part number should match what you expect, whether that is W10295370A, W10413645A, or another Whirlpool-compatible number. Any cartridge that arrives loose, dented, or without a sealed wrapper should be set aside.
Understand When the Water Supply Can Stay On
For nearly every Whirlpool refrigerator, you do not need to shut off the household water line. The filter housing has an internal shutoff valve that closes the moment the cartridge leaves the head.
There are two exceptions worth knowing:
- Older bypass-style housings on pre-2005 models sometimes lack the internal valve.
- Any housing that already drips steadily before you start likely has a worn valve.
In either case, close the cold water shutoff behind the refrigerator or under the kitchen sink first. Then dispense water for a few seconds to release line pressure.
Check the O-Rings and Protective Caps
Look at the o-rings on the new filter, the black rubber rings near the cap. They should be seated flat in their grooves with no twists, nicks, or flat spots.
Do not grease them, and do not remove them. If the new cartridge ships with a plastic protective cap over the inlet, pull it off and throw it away. Leaving it on blocks completely blocks water flow. That single oversight causes a surprising share of “my new filter has no water” complaints.
With the prep done and the O-rings checked, the removal method depends on your housing style.
Replace the Cartridge Step by Step
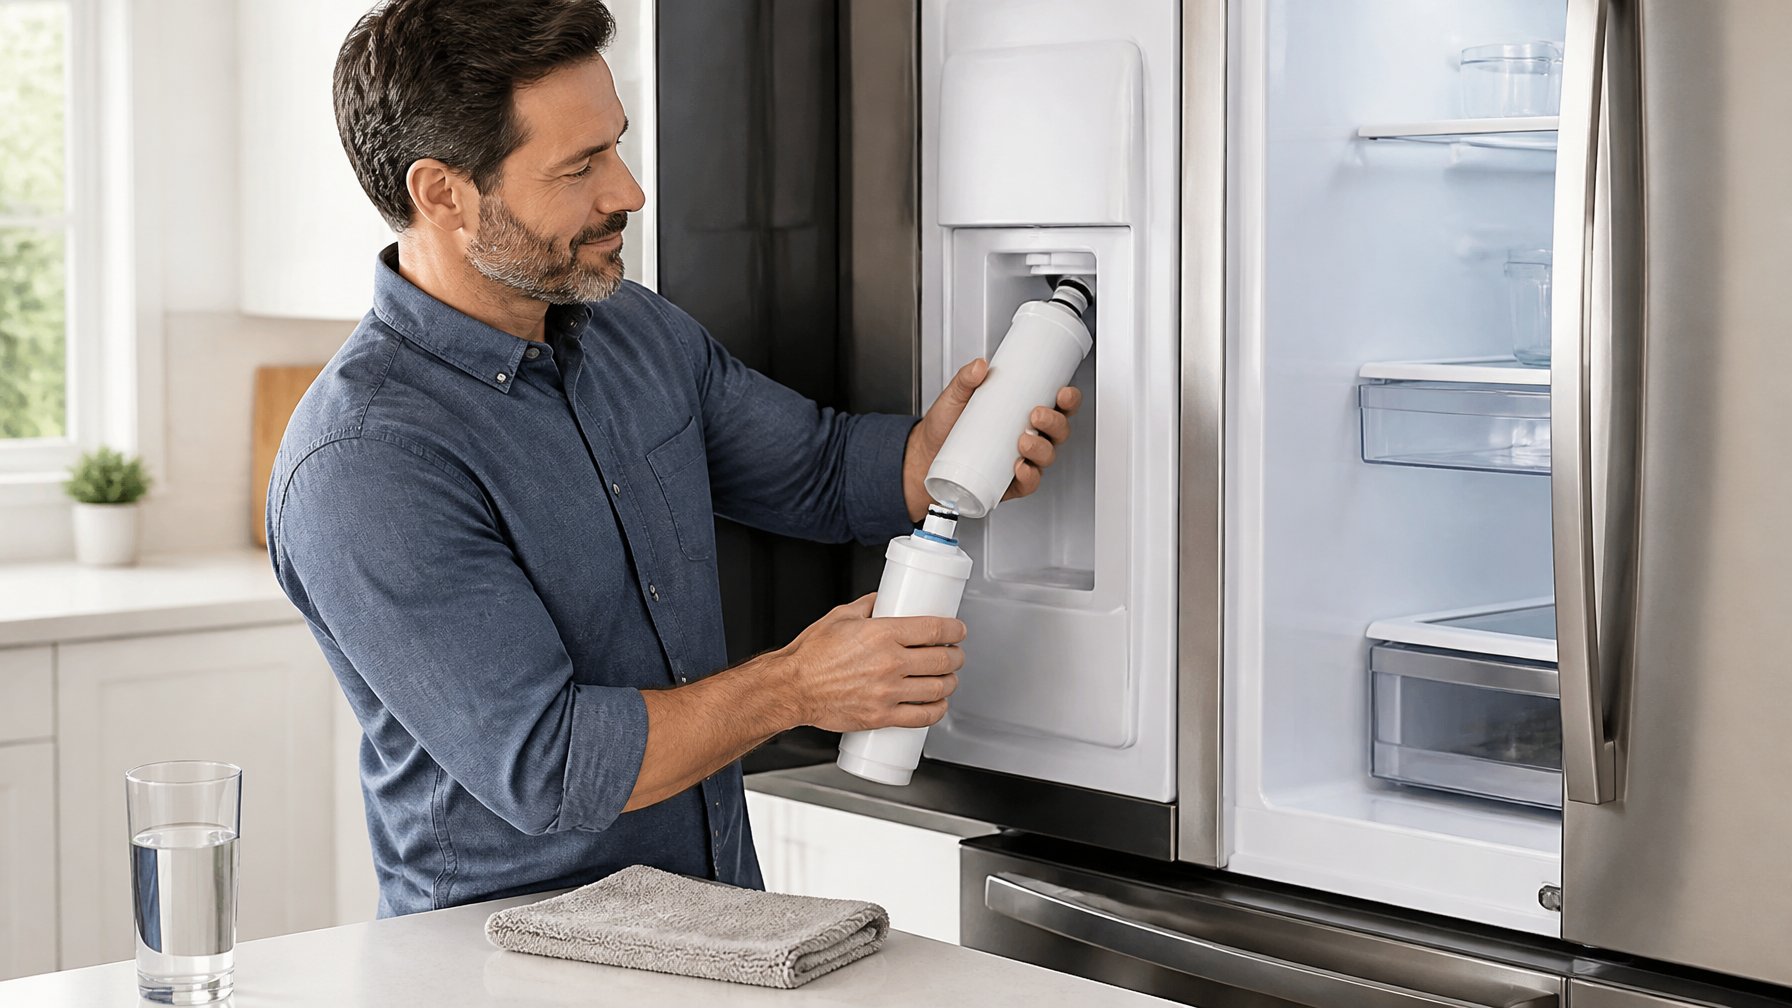
Here is the actual swap. The whole process runs about five minutes, and the motion depends only on whether your filter is a push-in grille type or an interior twist-in.
Whirlpool designed both styles for tool-free service. If something requires force, stop and reread the direction of travel. Plastic housings crack when you fight them.
How to Change a Whirlpool Refrigerator Water Filter Safely
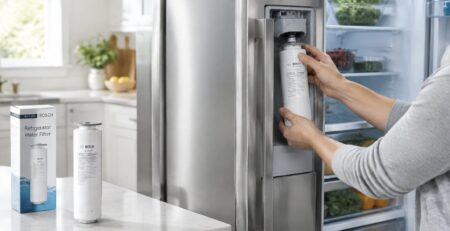
The safe sequence is the same across every Whirlpool model. Follow it in order:
- Place a towel under the filter housing.
- Open the filter door or grille cover.
- Release the old cartridge (push to eject or twist counterclockwise).
- Pull the cartridge straight out and let it drain into a bowl.
- Wipe the housing opening with a dry cloth.
- Remove the protective cap from the new filter.
- Align the cartridge with the housing guide.
- Push in or twist clockwise until it locks.
- Close the cover and confirm it latches flush.
- Flush and reset, which the next section covers.
Remove a Base Grille Filter
Grille-base cartridges on side-by-side models sit behind the base grille at floor level. Press the eject button beside the cap, or push the filter in about a quarter inch and release. The cartridge pops forward.
Grip the cap and pull straight out. Do not angle it up or down, because side pressure stresses the housing neck. Older 4396508 style filters may need a firm, steady pull rather than a yank.
Remove an Interior Twist-In or Push-In Filter
Interior filters behind a flip-down door usually turn counterclockwise a quarter turn, then slide out. On UKF8001-style housings, the cap has molded arrows showing the unlock direction.
Push-in interior models, including many EDR1RXD1 installations, work like the grille version: press to release, then draw the cartridge straight out. If it will not budge, the cap may still be in the locked position. Rotate it fully before pulling.
Insert and Lock the New Replacement Filter
Slide the new cartridge in until you feel the O-rings seat, then finish the motion. A push-in filter clicks. A twist-in stops firmly at the quarter-turn mark, with the cap arrow lined up on the housing.
If the cover will not close, the cartridge is not fully seated. Back it out and start again rather than forcing the door shut. Forcing can snap the tab. The filter is in. The water inside your lines is not ready to drink yet.
Flush, Reset, and Check the Installation
A new cartridge always traps air and loose carbon fines. Flushing clears both, and it takes about two minutes of running the water dispenser.
Skip this step and your first few glasses may look cloudy or gray. The dispenser may sputter. Neither is dangerous, but neither is pleasant either.
Flush the Water System Before Drinking
Run water into a pitcher until you have dispensed at least two to three gallons. Consumer Reports recommends dispensing roughly two gallons to clear air and carbon dust from the line. Whirlpool manuals commonly call for three.
Dispense in stretches of about 30 seconds so the dispenser motor does not overheat, pausing briefly between rounds. Cloudiness and sputtering should stop well before you finish. The flush water is fine for houseplants or the dog’s bowl.
If your refrigerator makes ice, discard the first two or three full batches. Ice takes longer than the dispenser to cycle out old water.
Reset the Filter Status Light
The indicator light runs on a timer, not a sensor. It will keep glowing until you reset it manually. Whirlpool uses a few different reset methods depending on the control panel:
- Press and hold Filter Reset or Water Filter for 3 seconds.
- On touch panels, hold Filter until the light turns from red to green or off.
- On models with an ice and water menu, hold Light and Filter together for 3 seconds.
- On some French door units, press and hold Options or Max Ice for 3 seconds.
If nothing responds, unplug the refrigerator for one minute and try again.
Test the Water Dispenser for Leaks and Steady Flow
Dry the floor and the housing area, then dispense water for 10 seconds and watch the seal. Any bead forming at the cap means the cartridge is not fully locked or an O-ring is pinched.
Check again after an hour, because slow leaks show up under sustained pressure rather than right away. Water flow should be steady and close to the rate you remember when the last filter was new. Weak flow after a proper flush usually points to an incompatible cartridge or a protective cap left in place.
Now that the install is verified, what should you actually buy the next time around?
Choose a Certified Compatible or OEM Replacement
You have two real options every six months: an original Whirlpool cartridge or a certified compatible one. Both work if the compatible unit carries genuine certification.
Price is the main difference. Original branded cartridges commonly run $45 to $55 each at retail. Certified compatible equivalents often start under $30 with free shipping.
Common Whirlpool-Compatible Part Numbers to Match
Match by number, not by brand name. These are the Whirlpool cartridges homeowners replace most often:
- W10295370A / EDR1RXD1 (Filter 1): interior push-in on many side-by-side and French door models. Compatible and OEM EveryDrop Filter 1 options both exist for this fit.
- W10413645A / EDR2RXD1 (Filter 2): interior twist-in, common on French door units.
- 4396508 / 4396510: older push-in grille cartridges on side-by-side models.
- UKF8001: shared Whirlpool and Maytag twist-in, with Icepure RFC0900A and Polar PF8001 as compatible alternatives.
The W10295370A refrigerator water filter listing is a useful reference point when you are cross-checking a number printed on an old cartridge.
What NSF Certification and WQA Approval Mean
NSF certification is not a marketing word. NSF/ANSI 42 covers aesthetic reduction, meaning chlorine taste and odor. NSF/ANSI 53 covers health-based contaminant reduction, including lead, mercury, and cysts such as Cryptosporidium and Giardia.
Water Quality Association (WQA) approval is a separate third-party program. The WQA maintains public certified product listings so you can verify a claim instead of taking it on faith.
A filter that carries both NSF 42 and NSF 53 certification plus a WQA Gold Seal meets the same tested standards as the original branded cartridge for those contaminants.
When a Lower-Cost Compatible Filter Makes Sense
A certified compatible filter makes sense whenever the certifications match and the fit is confirmed. Two households replacing filters twice a year save roughly $50 to $60 annually per refrigerator by switching from full-price OEM to a certified compatible unit.
Uncertified no-name cartridges are a different story. Skip anything that lists no NSF standard number. Counterfeit filters are a documented problem in this category.
So how do you make sure the next replacement happens on time instead of six weeks late?
Keep the Next Replacement on Schedule
The filter you just installed has a working life. The indicator light is only an estimate. Tracking the date yourself is more reliable.
Write the install date on the new cartridge cap with a permanent marker before you put it in. It takes three seconds and answers the question every time.
Replace Every Six Months or After 300 Gallons
The standard interval is six months or 300 gallons, whichever comes first. Carbon media has a finite capacity. Once it fills, contaminant reduction drops even though water still flows.
Households of four using the water dispenser daily often hit 300 gallons by month five. Two-person households may run the full six months. Well water or heavy sediment shortens the interval further.
Signs you are past due include slow flow, a chlorine taste returning, or cloudy ice that does not clear after a full tray cycle.
Keep a Spare Filter for Uninterrupted Clean Water
Buying two to four cartridges at once lowers the per-unit price. The replacement is already in the cabinet when the light comes on. Multi-packs of EDR1RXD1 style filters typically cut per-filter cost noticeably compared with buying one at a time.
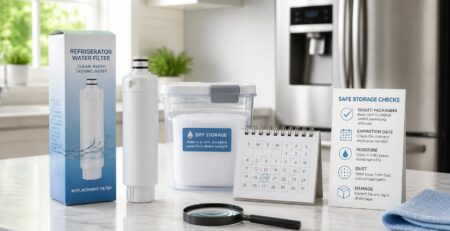
Store spares in their sealed packaging, upright, away from heat and cleaning chemicals. Activated carbon can absorb ambient odors if the wrapper is opened early.
Property managers handling several refrigerators benefit most. This is especially true when the units use different cartridges like W10295370A in one kitchen and UKF8001 in another.
Find the Right Filter With Free Shipping
Matching by part number is the whole trick. Top-rated refrigerator water filters are organized by number for exactly that reason. Optional six-month reminder emails are available if you would rather not track the date yourself.
Still holding a cartridge with a worn label? That is the one situation where a person, not a search box, solves the problem faster.
Frequently Asked Questions
Where Is the Water Filter Located on a Whirlpool Refrigerator?
Whirlpool uses three common spots: behind the base grille at the bottom front; in the upper right corner inside the fresh food compartment; or in the upper left corner on French door models. Side-by-side units most often use the base grille position. If you cannot find it, search your model number plus “owner’s manual” and look for the word filter.
How Do I Remove a Stuck Water Filter From My Whirlpool Refrigerator?
First, confirm the cap is fully rotated to the unlock position. A partially turned twist-in cartridge will not release. For push-in styles, press the filter inward a quarter inch and let go rather than pulling. If it still resists, turn off the water supply. Dispense a few seconds of water to drop line pressure. Then pull straight out with a steady grip.
How Do I Replace a Whirlpool Water Filter 1?
Filter 1 is the W10295370A, sold as EDR1RXD1. It installs inside the fresh food compartment. Open the filter door, press the old cartridge in to release it, pull it straight out, remove the protective cap from the new one, then push it in until it clicks. Flush three gallons and reset the indicator light.
How Do I Reset the Water Filter Indicator Light After Installing a New Filter?
Press and hold the Filter Reset or Water Filter button for about three seconds until the light changes color or turns off. Some touch panel models require holding Light and Filter together. Certain French door units use the Options or Max Ice button. If no combination works, unplug the refrigerator for one minute and try again.
How Much Water Should I Flush Through a New Whirlpool Refrigerator Water Filter?
Dispense two to three gallons through the water dispenser, running it in 30-second stretches so the motor does not overheat. This clears trapped air and loose carbon fines that make the first glasses look cloudy. Discard the first two or three batches of ice as well.
Can I Change My Whirlpool Refrigerator Water Filter if There Is No Filter Indicator Light?
Yes. Many Whirlpool models have no indicator. Replace on the standard schedule of six months or 300 gallons, whichever comes first. Write the install date on the cartridge cap with a marker, or sign up for six-month reminder emails so the timing is handled for you.
Your Next Filter Change Just Got Easier
The hard part was never the swap itself. It was finding the housing, matching the number, and knowing whether to flush two gallons or ten. With W10295370A, W10413645A, and UKF8001 identified and a reset method that works on your panel, the whole job now fits in a coffee break twice a year.
The other half of the equation is what you pay for the cartridge. There is no reason to spend $50 at a big-box store for a filter when a WQA-approved, NSF 42 and NSF 53 certified compatible version starts under $30 and covers the same contaminants.
Not sure which cartridge fits your fridge? Email FilterForFridge.com your refrigerator model number, and the team will match it for you at no cost. Or call (615) 758-6915. Every order ships free.