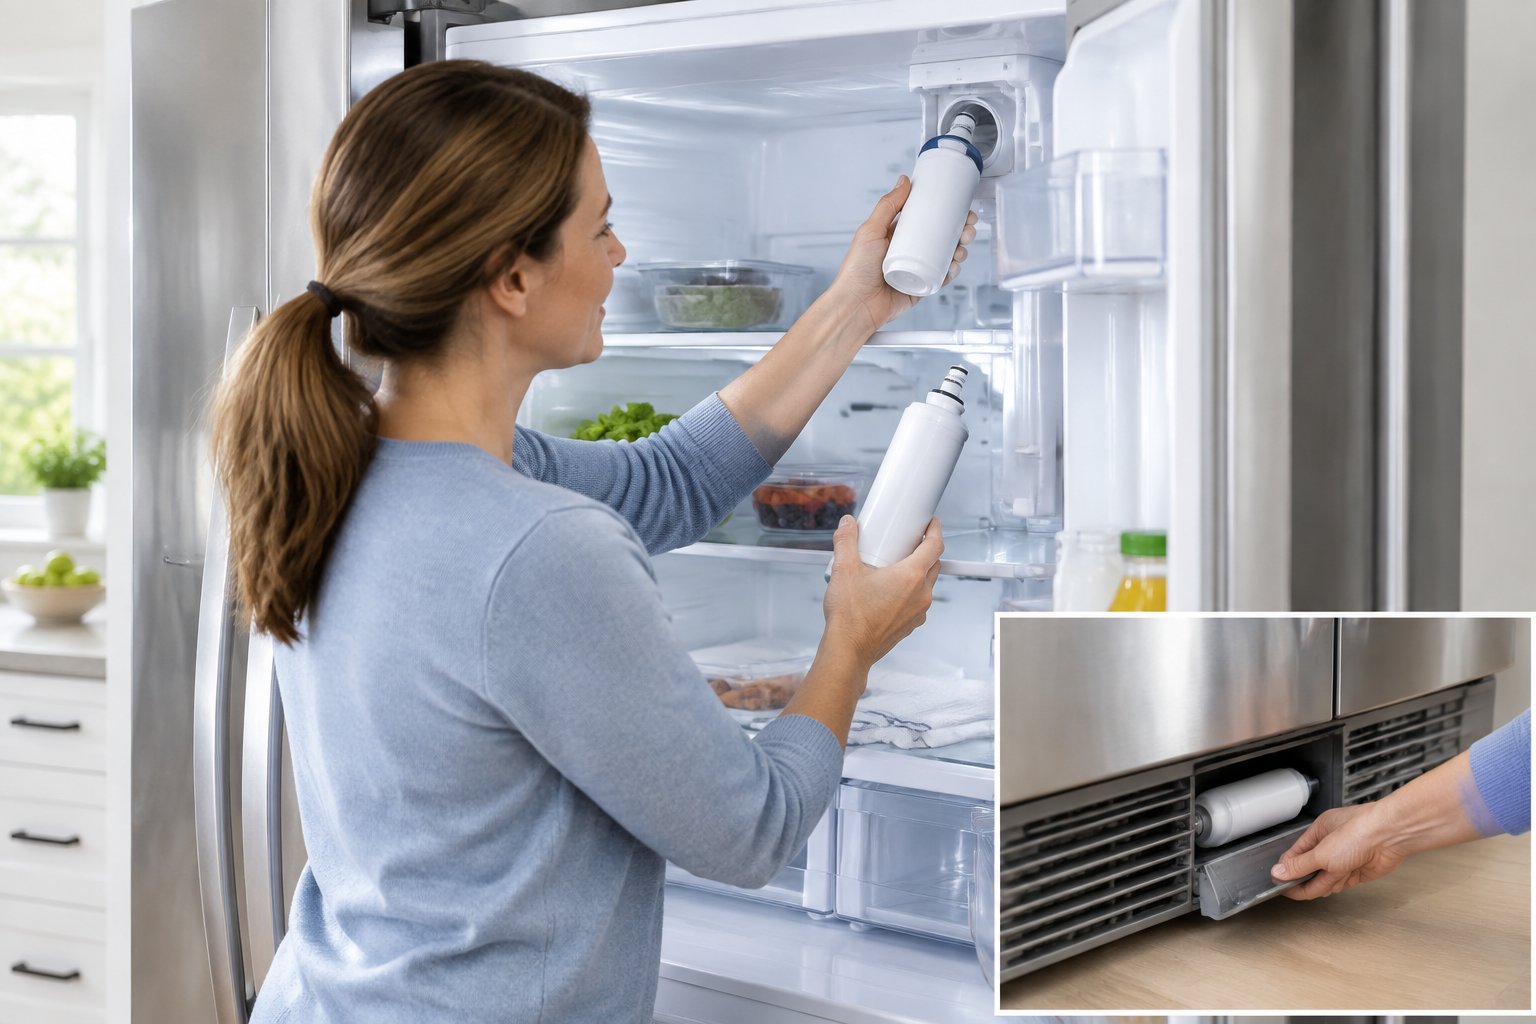
How to Replace Maytag Refrigerator Water Filter: Interior and Grille Steps
You open the fridge, see the filter light glowing, and realize you are not sure where the cartridge lives or which one to buy. To learn how to replace Maytag refrigerator water filter cartridges, find the filter in the upper right corner inside the fridge or behind the left side of the base grille, match the number on the old cartridge, then flush the new one. The exact release method depends on your model.
Getting this right matters because Maytag has used several filter styles over the years. Some slide straight out. Others twist, pop out with an eject button, or wear a reusable cap that you move to the new cartridge. If you force the wrong part or skip a step, you can end up with a leak, a dry dispenser, or water that tastes like a new filter.
You will be able to identify your filter, remove it by its release type, and seat the new one without forcing it. You will also know how to flush the line, reset the indicator, and fix a stuck cartridge or weak flow.
Which Filter Does Your Maytag Refrigerator Use?
Your refrigerator model number and the label on your current cartridge tell you exactly which replacement fits. Maytag refrigerators use different cartridges by style and year, so a filter that looks close is not always correct.
Read the Number on the Old Cartridge
Start with the model number. On most Maytag refrigerators it sits on a sticker inside the fresh food compartment, often along a side wall or near the top. Write down the full string of letters and numbers, because one changed character can mean a different filter.
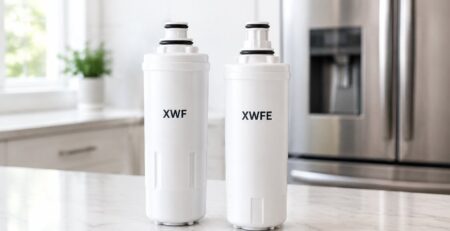
Next, pull up the old cartridge or look at it through the filter door. Maytag says EveryDrop filters carry a single-digit number printed on the front, from 1 to 5. That number tells you which EveryDrop filter family fits your fridge.
You may also see a longer part number on the label. Common Maytag examples include:
- EDR1RXD1 (EveryDrop Filter 1), used in some side-by-side and French door models
- EDR2RXD1 (EveryDrop Filter 2), found in some French door models
- EDR3RXD1 (EveryDrop Filter 3), a push-button filter in the base grille
- EDR4RXD1 (EveryDrop Filter 4), the Maytag UKF8001 cartridge, installed inside the top right on some side-by-side models
- EDR5RXD1 (EveryDrop Filter 5), also sold as Whirlpool 4396508 and 4396510, a turn-cap filter in the base grille
If the label is worn or missing, enter your model into a filter cross-reference tool to match it. Whirlpool Corporation owns both brands, so many Maytag refrigerators take EveryDrop filters.
Find the Filter Inside the Fridge or at the Base Grille
Maytag filters sit in one of two places. The first is the upper right corner inside the fresh food section, behind a hinged door or a drop-down cover. The second is the base grille at the bottom front of the refrigerator, usually on the left side.
Some filter numbers show up in both spots. EveryDrop Filter 1, for example, can sit inside the top right or in the grille, and the arrow direction changes with the location. Filter 3 and Filter 5 live in the grille, while Filter 4 sits inside the top right.
If you see no filter in either spot, your fridge may use an inline filter on the water supply line behind or under the unit. That setup uses a different process, so check your owner’s manual before buying.
Remove the Old Filter and Install the New One
Each Maytag filter number has its own release move, so match your steps to the number on the cartridge. Before you begin, lay a towel under the filter area to catch drips. Then unbox the new filter and pull off its protective cap or O-ring covers, making sure the O-rings stay in place.
How to Replace Maytag Refrigerator Water Filter #1 Through #5 by Release Type
Here is how to replace Maytag refrigerator water filter cartridges for each EveryDrop number:
- Filter #1 (pull out): Lift the filter door and pull the old filter straight out. Insert the new one with the arrow pointing up if it is inside the fridge, or pointing left if it is in the grille. Push the door closed until it snaps.
- Filter #2 (angle and twist): Pull the door open. Tilt the old filter down, turn it left, and pull. Push the new filter in with the arrow up; it will start to rotate, so turn it right until it locks.
- Filter #3 (eject button): Push down the eject button in the lower left of the grille and pull the filter out. Move the cap to the new cartridge, insert it with the arrow pointing left, and push until the button pops back out.
- Filter #4 (twist inside): Push the tab or pull the small lever on the cover, then lower the door. Turn the filter left and pull. Line up the new one with the grooves, push in, turn right, and push up to lock.
- Filter #5 (turn cap in grille): Rotate the cap counterclockwise until the handle is vertical, then pull straight out. Move the cap to the new filter, push it in with the handle vertical, and turn clockwise to horizontal.
If you use Filter 1, both the genuine EveryDrop Filter 1 (EDR1RXD1) and the W10295370A cartridge share that fit. For Filter 4 (UKF8001), compatible options include ICEPURE RFC0900A and Polar PF8001. Check each product page for its fit and its specific certification claims before ordering.
Transfer a Reusable Grille Cap if Your Model Has One
Grille-mounted filters #3 and #5 use a decorative cap that stays with your fridge. New cartridges do not include it, so do not throw it away with the old filter.
For Filter #3, turn the cap counterclockwise to remove it from the old cartridge. Set it on the new one with the ridges lined up, then turn clockwise to lock. For Filter #5, slide the cap off the end of the old filter and slide it onto the new one.
If this is a first-time install on a Filter #4 model, you may find a plug cap inside the opening. Turn it counterclockwise and pull it out before you insert the cartridge.
Align and Lock the New Cartridge Without Forcing It
Maytag’s own steps warn you not to force a filter in. If it will not slide in easily, rotate it slightly until the notches meet the grooves in the housing. Then push again with steady, even pressure.
Watch for the signal that tells you it is seated. On twist filters, you feel it stop turning. On eject models, the button pops back out. On turn-cap models, the handle ends up horizontal. Close the door until it clicks, and wipe up any drips.
Flush the Water Line and Reset the Filter Indicator
After installation, run water through the new filter to push out trapped air and loose carbon particles. Then reset the reminder light if your fridge has one.
Follow Your Model’s Instructions for Flushing
Maytag says flush amounts vary by filter, and most EveryDrop filters need four gallons. Place a large container under the spout. Press the pad for five seconds, release for five seconds, and repeat until water starts to flow. Then keep dispensing until you reach the amount listed for your filter; Maytag’s guide on how to flush a refrigerator water system walks through it.
The instructions for your filter and your owner’s manual are the final word, so check them if you are unsure. Sputtering at first is normal, since air is leaving the line.
Check for Leaks and Reset the Indicator if Needed
Once the flush is done, look around the filter housing and the grille for drips. A small amount of water from removal is expected. A steady drip means the filter is not fully seated, so remove it and reinstall it.
Most Maytag models with a filter status light need a manual reset after a change. Look for a button or touch control labeled Filter or Filter Reset on the dispenser panel or inside the fridge. The hold time and button name vary by model, so follow your manual. The light should change from “order” or “replace” back to normal.
Troubleshooting a Stuck Maytag Filter or Weak Flow
A stuck filter is almost always a release step that has not happened yet, not a broken housing. Weak flow after a change usually points to a cartridge that is not fully seated or not the right match.
Check the Release Mechanism Before Pulling Harder
Pulling harder can crack the housing, so first confirm which release type you have:
- Twist filters (#2 and #4): Turn left until they stop. Filter #2 also needs to angle down before it turns.
- Eject filters (#3): Press the button fully. The cartridge should slide forward on its own.
- Turn-cap filters (#5): Rotate the handle to vertical before pulling straight out.
- Pull filters (#1): Make sure the door is fully open and nothing on the shelf is blocking it.
Older filters sometimes stick from mineral buildup around the O-rings. A firm, steady turn works better than a jerk. If it still will not move, check the manual for your model or call Maytag service.
Check Cartridge Fit and Seating if Water Does Not Flow
If water barely trickles after flushing, pull the new filter and look at its number. It should match the old cartridge or your model’s listing exactly. A similar-looking filter may slide in and still fail to open the water valve.
Next, confirm the arrow points the right way: up for interior Filter #1 and #2, left for grille Filter #1 and #3. Check that you removed every protective cap and that the O-rings are sitting flat. Reinstall until you feel the lock, then flush again.
A Correct Fit Makes the Next Change Easier
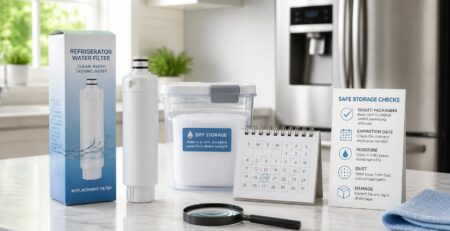
Once you know your filter number and release type, every future change takes only a few minutes. Match the number on the old cartridge, follow its release steps, flush the amount your manual lists, and reset the light. Write the part number and today’s date inside the filter door so the next swap starts faster.
When you shop, compare certifications on the exact product. Maytag notes EveryDrop filters are NSF certified to NSF/ANSI 42 for certain taste and odor contaminants. Select EveryDrop models also carry NSF/ANSI 53 and 401 claims listed on each Performance Data Sheet. WQA approval is a separate seal, so check which one each filter carries. These reasons to replace your fridge filter show why regular changes pay off.
If you manage more than one fridge, stocking up keeps you ready. Look up your EveryDrop number with the filter finder by part number at FilterForFridge.com. Orders ship free in the lower 48 states, with about $20 extra to Alaska and Hawaii. Not sure of your match? Send your model number by email or call +1 615-758-6915 for a free fit check.
Frequently Asked Questions
Do I Need to Turn Off the Water Before Changing a Maytag Refrigerator Filter?
Maytag’s replacement steps for built-in EveryDrop filters do not call for shutting off the water supply. Keep a towel under the housing, because a little water will drip when the cartridge comes out. Inline filters on the supply line are different, so follow your manual for those.
What Stops an Old Maytag Filter From Coming Out?
The release step for your filter number usually has not been completed. Twist filters must turn left, eject filters need the button pressed, and turn-cap filters need the handle vertical first. If buildup makes it stiff, use slow, steady pressure and check your owner’s manual.
Can I Use the Ice Maker Right After Replacing the Filter?
Yes, the ice maker keeps working, but flush the dispenser first so air and carbon particles clear the line. A safe habit is to throw out the first batch or two of ice made after the change. That ice may have formed from water that was in the line before the flush.
Where Is the Filter Reset Control on a Maytag?
Most Maytag models with a status light reset through a control labeled Filter or Filter Reset on the dispenser panel. The button name and hold time vary by model. Check your owner’s manual for the exact steps.
How Long Does an EveryDrop Filter Last in a Maytag?
Maytag recommends replacing the filter about every six months. Change it sooner if you hit its rated gallon capacity or notice slower flow, odd taste, or odor. Heavy use and hard water wear a filter out faster.